


I'm a bit too young to be thinking about this but in an effort to provide diverse content on my blog, I present to you all an autumnal bridal makeup tutorial, "I'm 'FALL''-ing for You"!. Since we're beginning fall here in the Northern Hemisphere, I wanted to incorporate a lot of gold and copper to mimic the colors leave turn in fall. It's a bit metallic and shimmery but a matte look wasn't something I would personally want on my big day. Anyhoo, let's hop onto the tutorial!

⇥ FACE ⇤
1. MOISTURIZER -- I would recommend using one without SPF. With flash photography, it tends to have a white cast. Use something that you know works well for you--your wedding day is not the day to be experimental. Having moisturized skin is of the utmost importance because the makeup won't get cakey or dry-looking as the day progresses.I've liked the Skincare LdeL Cosmetics Retinol Night Cream or the Body Shop Seaweed Mattifying Moisture Lotion as they give me enough moisture without breaking up the foundation.
2. PRIMER -- Use one suited to your skin. I used the Tarte Clean Slate Flawless 12 Hour Brightening Primer. If I did this for a real wedding, I'd pick one with oil control, like the Lancome La Base Pro Perfecting Makeup Primer, which is also oil-free.
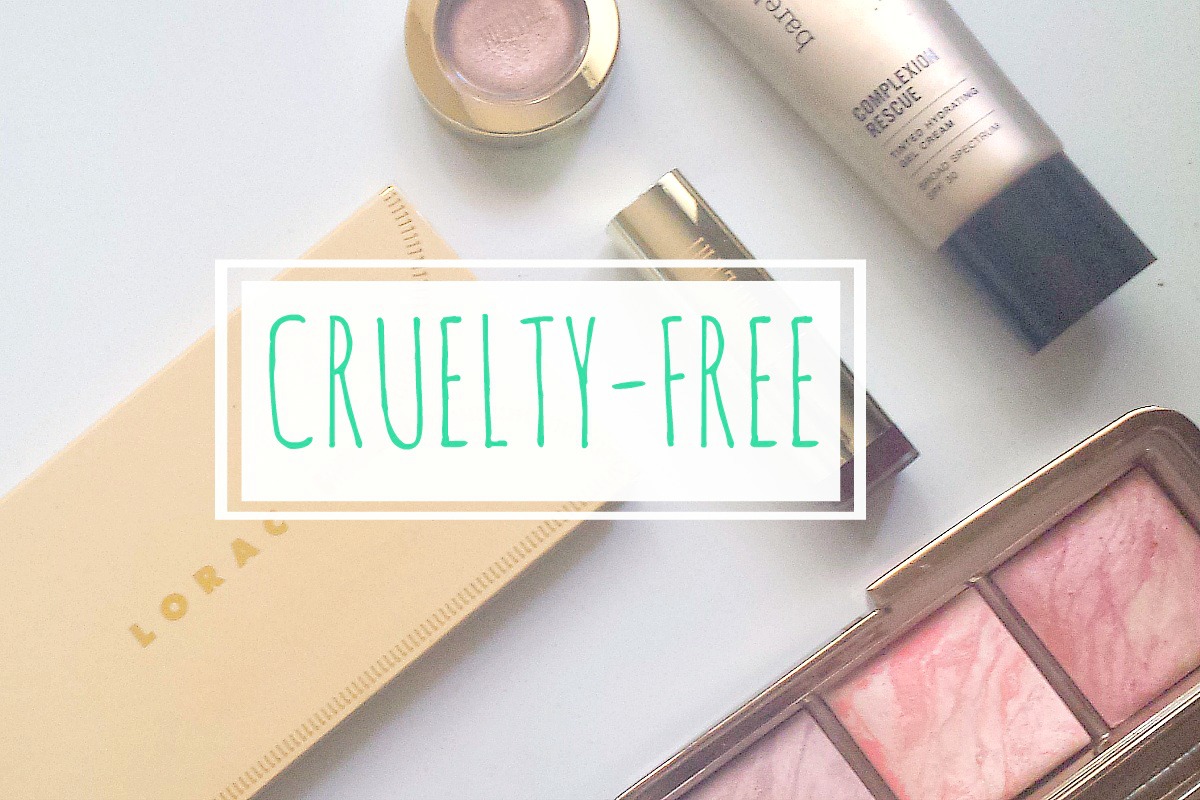
3.FOUNDATION -- Again, this is all about what works for your skin. I went for a full coverage foundation, the Revlon Colorstay Makeup for Combination/Oily Skin in shade 240 Medium Beige. Just to let y'all know, this foundation leans pink on my yellow undertone skin. If this happens to you, blend the foundation down your neck and set with a powder that does match your face. I don't normally use full coverage foundation as it feels too heavy for everyday. I used this with a damp Beauty Blender to sheer out the coverage and add a dewy look to the skin. I definitely do not recommend using more than one layer with this foundation--it will cake up and look heavy. If you need to add extra coverage after this, I recommend using a high coverage concealer, like the MUFE Full Cover Extreme Camouflage Cream. I use shade 7 Sand. Another full coverage foundation I like is the RCMA Cream Foundation. If you have a hard time finding a foundation match, RCMA has 12 series to match varying undertones. If you are near my skintone, my exact match is KO3. If you don't need as much coverage, the MUFE HD Invisible Cover Foundation is lovely. However, I do get quite shiny with this after 3 hours so I would recommend powdering and using an oil control primer with this foundation if you are oily skinned.
4. CONCEALER -- If you're a worrywart like me, you probably don't get enough sleep the night before a big event. To cover those pesky dark circles, I used the NARS Radiant Creamy Concealer in Custard, blending it in with my damp Beauty Blender. A more affordable one I like is the Skinfood Dark Circle Salmon Concealer in shade 02. That one is a bit lighter than the NARS but is a lot creamier and glowy. Make sure to set it with a powder so it doesn't melt down your face!
5. BLUSH -- Since I wanted the focus to be on my eyes, I kept my blush quite neutral. Tarte Amazonian Clay 12 Hour Blush in Exposed is a neutral toned peachy brown shade. I applied this to my apples, blending upward toward my temples for a lifted look. I went lighter with the blush as I tend to flush easily.
6. HIGHLIGHT -- I was going for a glowing bride look so highlighter was a must. To keep with the warm, golden tones, I used Benefit Watt's Up!, a golden champagne highlighter. It's a cream highlighter, so it blends into the foundation well. The highlighter doesn't have large glitter particles so it's not garish. It just adds that nice sheen that models in magazines have. Another favorite of mine, the Laura Mercier Matte Radiance Baked Powder Compact in Highlight 01. It's matte but it just adds a brightness without the shimmery or glittery bits.
7. BRONZER -- I wanted to add a bit of warmth to my face. One of my favorites, the Tarte Amazonian Clay Bronzer in Park Avenue Princess, is my choice when I want a really warm look to my face. I've seen some versions with sparkle but this one is completely matte. I swear I've been using this a ton since I first got it last year during the holiday season and I'm barely making a dent. The pattern is a bit worn but still visible. A little goes a long way with this one. I apply this to the perimeter of my face and the hollows of my cheeks for a sculpted and bronzed look. I also lightly applied this to the sides of my nose for a defined nose. Another love is the bronzer that comes in the Lorac Pro to Go Palette. That one isn't as warm and looks more believable as a contour shade.
8. POWDER -- I like to powder at the end to set everything. My favorite is the L'Oreal True Match Super Blendable Powder in W3 Nude Beige. It adds a bit of coverage without making this look cakey. This powder smooths over my pores for a flawless look. It's a great touch up powder to absorb those oils midday without adding a cakey finish. If you use this powder with a wet sponge, it can act as a luminous powder foundation. On another note--see those rings? I'm almost to pan!

⇥ EYES ⇤
1. PRIMER -- This is a must--especially if you have oily or hooded eyelids! I'm guilty of both so the Tarte Clean Slate 360 Creaseless 12 Hr Smoothing Eye Primer is a necessity. It does keep my shadows where they belong and true to color. An added bonus--it slightly evens out dark or veiny eyelids! One thing I dislike about it is that it makes blending eyeshadows a bit difficult but it's not impossible. My favorite one is the Urban Decay Primer Potion in Original. UDPP in Sin would also make a good base for this look.
2. BASE -- I really want my eyeshadows to pop, even from afar. I used the Maybelline Color Tattoo in Barely Branded on the inner half of my eyelids and inner lash line. For the outer corners, I used the Banila Co. The Great Love Extra Bold Eyeliner in BR01 Brown to help the dark colors stand out. Make sure you blend this out quickly because once it sets, it sets and doesn't go anywhere. Any old brown liner will do if you can't find the Banila Co.
3. EYESHADOW-- Now we're onto my favorite part! All eyeshadows used were from my Lorac Unzipped Palette. I used Unreal, in the red box, all over the inner part of my eyelid. It's a light golden bronze color, veeery similar to Lt. Bronze from the Lorac Pro Palette. Next, I blended Unbelievable (in the yellow box), a shimmery reddish bronze color into my crease for warmth. After that, I used Unspoken (in the green box), a matte reddish-toned brown into the outer half of my crease and the outer corner of my eyes to deepen them. I'm going for a very smokey look here--the key is blending very well. I didn't think it was dark enough so I added Unbridled (in the purple box), a dark matte brownish-burgundy color in the outer corner in a V shape. For my lower lash line, I used Unspoken on the outer half and Unreal for the inner half. It's quite dramatic in person but as you can see in my photos, it doesn't look as harsh as it sounds. Photography washes out a lot of color so add a bit more than you do for everyday to compensate.
5. EYELINER -- My eyes were looking a little tired from all the smokey-ness so I added a nude liner from Rimmel to my waterline. To make my lashes look thicker, I tightlined using the MUFE Aqua Eyes in 25L. I wanted to add a wing to lift my dark eyes so I used the Tarte emphasEYES Amazonian Clay Waterproof Liner in Shimmering Chocolate. I went with brown for a softer look but I think I would go for black because it photographs better. If you want a matte version that's more affordable, I really like the e.l.f. Studio Cream Eyeliner in Coffee.
6. LASHES-- For my lashes, I went with the Avon Big & Daring Mascara. This thing stays on my lashes for a long while, even through the oil and tears. It doesn't add enough length so I would go with my new HG, the Tarte Lights, Camera, Lashes 4 in 1 Mascara next time. I foolishly forgot to buy lashes for this look and the ones I had overpowered my eyes so I just went without. I think lashes would add a nice dramatic look that would look great in photos.
7. BROWS -- I'm keeping it easy with just one product: the e.l.f. Studio Eyebrow Kit in Medium. This is one of my favorites for dramatic eyebrows. The creamy part looks dramatic but once you blend it, it adds a soft definition that doesn't look drawn on or Sharpie-like. I'm not sure what the powder adds to my look but I just brush some through for good luck.

⇥ FINISHING TOUCHES ⇤
1. LIPS -- Everything else requires so many products so I decided to keep my lips simple. I went with the Maybelline Color Sensational the Buffs Lipstick in Stormy Sahara. It's a great warm nude for my skintone. I would've gone bold with a red but that requires a lot of touch ups and might get messy. A nude is softer and doesn't look bad if it starts to wear off. This one is quite creamy and easy to touch up. I avoided lip gloss. While it photographs beautifully, I doubt Mr. Groom would like having lip gloss all over him. The Maybelline lipstick has a bit of a creamy sheen to it to camouflage dry lips (like me, today).
2. SETTING SPRAY-- There are tons out there in the market, so use one that's suited to your skin type. I'm using the MUFE Mist & Fix because that's what I have on hand. It doesn't add any glow but sets my makeup just right. The nozzle spritzes in a mist so it doesn't ruin your makeup.

That concludes my Autumnal Bridal Makeup tutorial! The pictures were a little blurry and I'm sorry for that but I was working against the setting sun. I didn't have time to retake the photos with the dying light.The hair was falling apart because I forgot to use hairspray--on your big day, I hope you don't forget to set your hair! I will try to make these earlier in the day so I don't have to rush as much xD
I hope you enjoyed the look! I never really have occasions to get this dolled up so I had a lot of fun creating this look. Also, if you're a bride to be, check out Lover.ly--the wedding planning binder in the cloud. You can search, shop, and save your wedding ideas all in one place--kind of like Pinterest! You can access thousands of wedding dresses and bridal ideas. Make sure you check out that site after you try out my look. ♥
If you're getting married soon, congratulations!
I hope everything goes well and that you enjoy your new life together ♥
XOXO,
MWAH ♥
•´`•.¸.» •´`•.¸.» ¸¸.•´°•´`•.¸.» •´`•.¸.» ¸¸.•´°•´`•.¸.» •´`•.¸.» ¸¸.•´°•´`•.¸.» •´`•.¸.» ¸¸.•´°••´`•.¸.» ¸¸.•´°•´`•.¸.» •´`•.¸.» ¸¸.•´°• •´`•.¸.»
Disclosure Statement: All products mentioned were purchased with my own money. I am not sponsored by any of the companies mentioned above and was not compensated for this post. All opinions are my own. Links are not affiliate links and are provided for the readers' convenience. I cannot guarantee that the product(s) will work for you. I do not approve or endorse the products or information available on these sites. Proceed at your own risk.


Oooh enjoyed reading this post, love! :) Your font isn't too small, btw ;) It's fine!
ReplyDeleteLove the collage!!
Hehe, thanks. I have trouble with my eyesight myself so I always try to make everything legible (though I do love the cursive fonts).
ReplyDeleteEnvious of your lid space. Love the collage, too :D
ReplyDeleteLol I make do. It helps to look down and tightline my upper lash line to save lid space :D The collage was quite easy to put together but didn't know if it was going to get confusing lol
ReplyDeleteNice look! I have the Revlon foundation, is one of my favorite, but I agree with you. For everyday makeup is a little heavy. I use it when i go to a party, club etc. I'd love to read more drugstore makeup reviews! :D
ReplyDeleteYes my thoughts exactly! I like to use it with a damp beauty blender or sponge just to sheer it out. You're in luck as I've just posted a first impressions on some Wet n Wild eyeshadows and Maybelline lipsticks :D http://makeupwithahart.blogspot.com/2014/12/haul-first-impressions-wet-n-wild.html?utm_source=bp_recent&utm-medium=gadget&utm_campaign=bp_recent
ReplyDelete